This is a long post, but at the end of it the wood stove is lit!
The plumbing was quite an involved job, including:
- removing the gas boiler
- connecting up the wood stove
- running pipes from the wood stove to the connection to the hot water cylinder and the radiators (the gas boiler was on the other side of the house...)
- replacing the cold water tank and the feed and expansion tank in the loft (they were very old)
- replace the hot water cylinder for one that can take solar input as well as the wood stove.
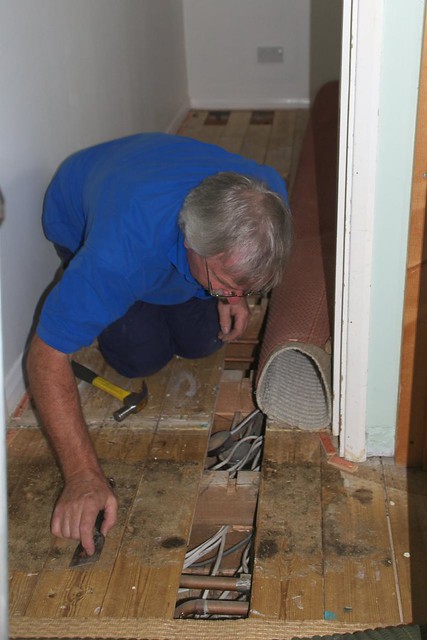
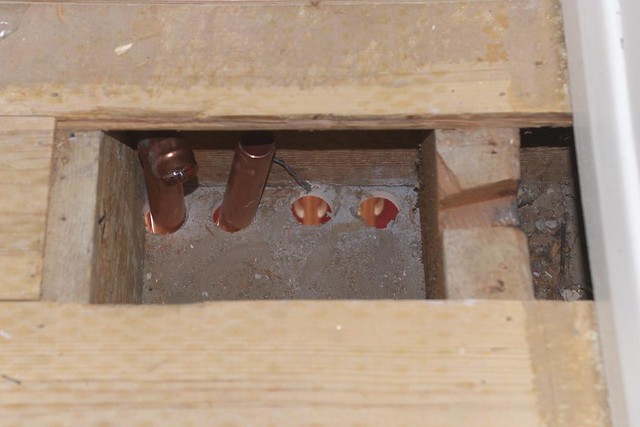
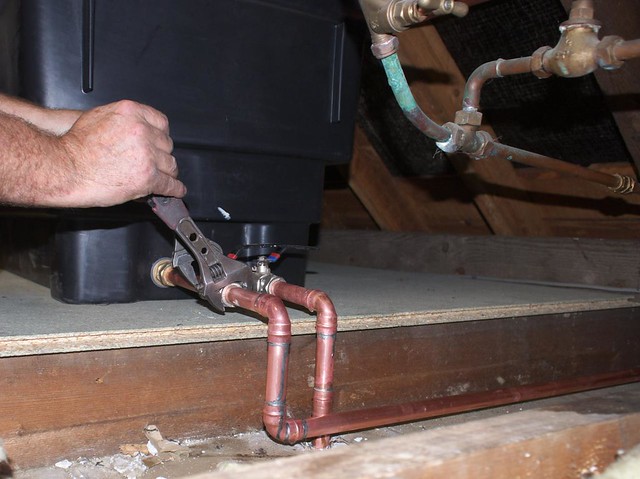
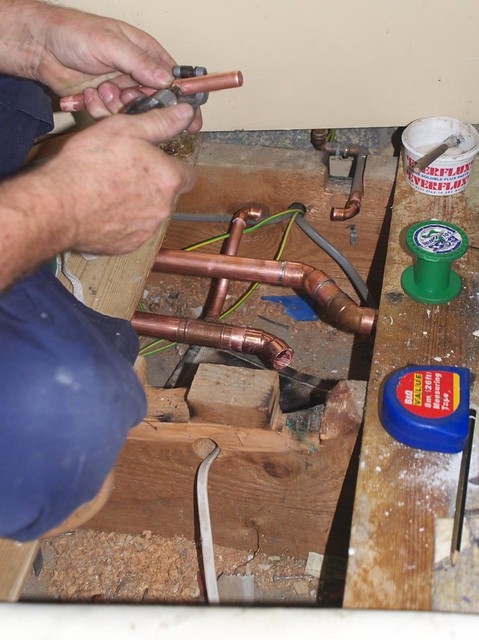
The plumbing company we used was CMS plumbing services, who have done a brilliant job. Here's Mick Rennells, taking up floor boards to lay in pipes for the stove connection:
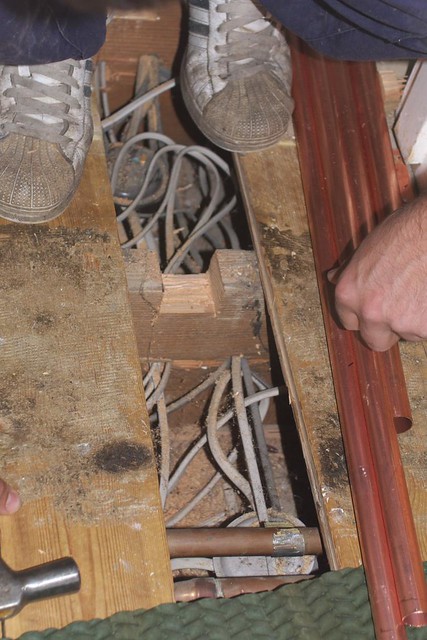
Slots were cut into the joists to take the new pipes:
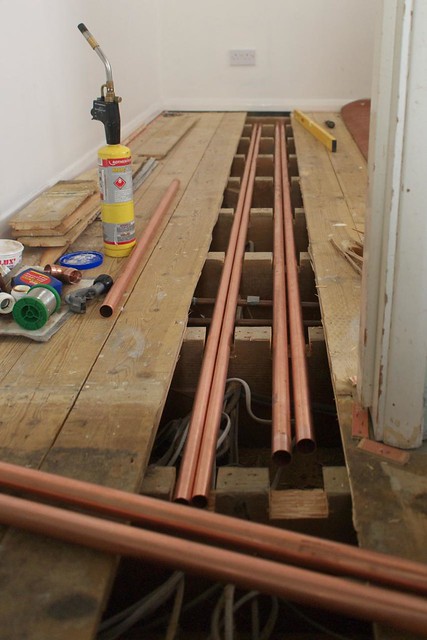
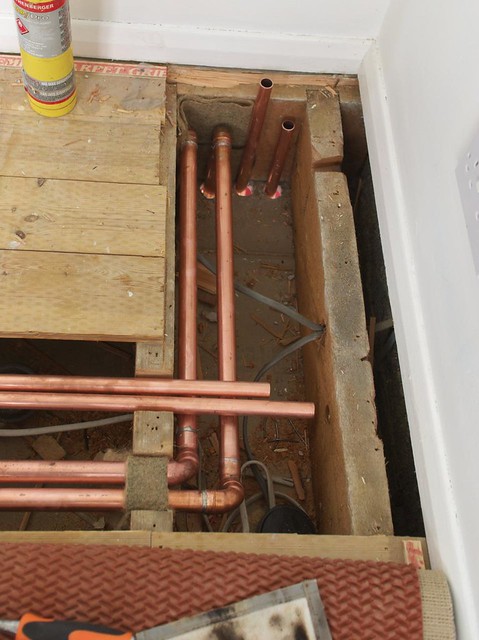
A wood stove with a boiler needs a chunk of its hot water output to go via a "gravity circuit", or "thermosyphon". This works by the hot water rising, and cold water sinking, so that it will work without a pump. This is needed in case you load up the stove, then go to bed and the power fails, so that it doesn't overheat. For the gravity circuit to work well, it needs to use 28mm pipe, to get a good flow rate. Our gravity circuit connects to the hot water cylinder and the bathroom radiator. We have a second circuit too, in 24mm pipe, which connects to the rest of the radiators and uses a pump. Here you can see the two pairs of pipes, for the gravity and pumped circuits, running under the bedroom floor:
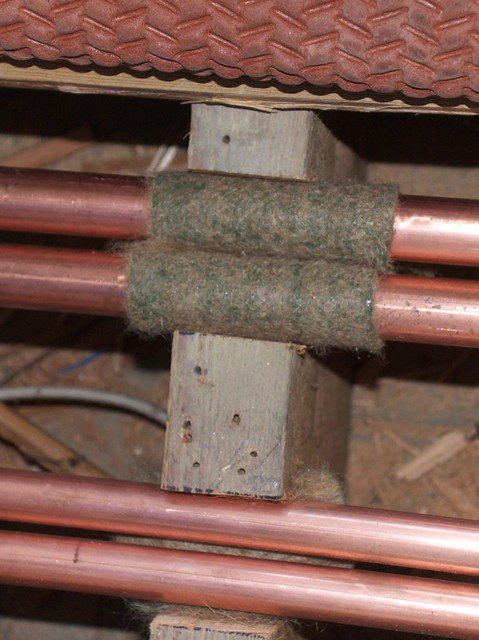
To stop them squeaking when the floor boards move, they rest in small felt pads:
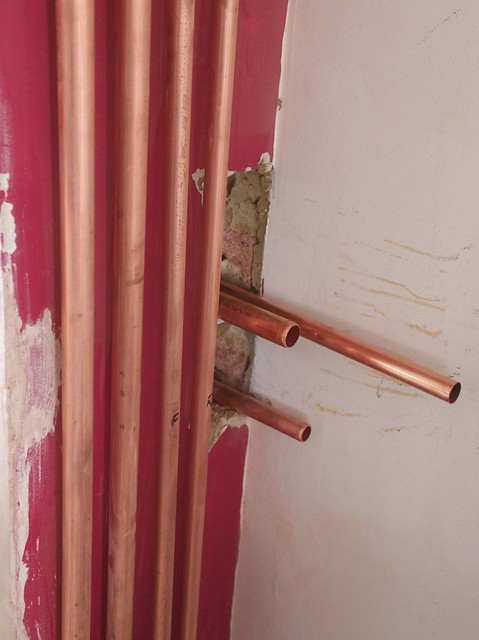
While that was going on, pipes were also being put up the side of the chimney:

Mick put elbows on the top of them:
So that they could poke through the ceiling into the bedroom:
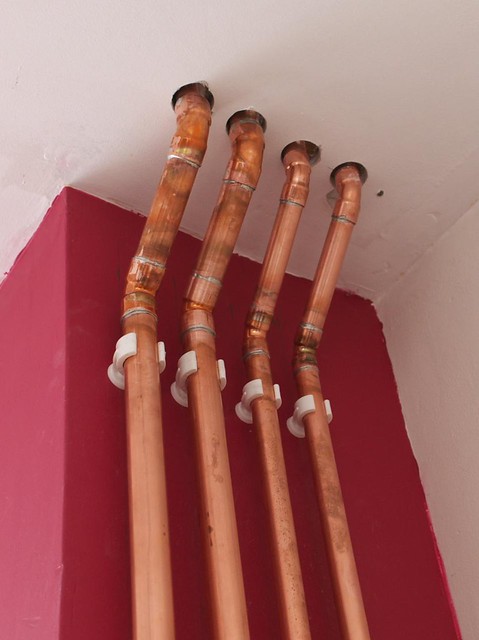
and then be connected up to the pipes already laid under the floor:
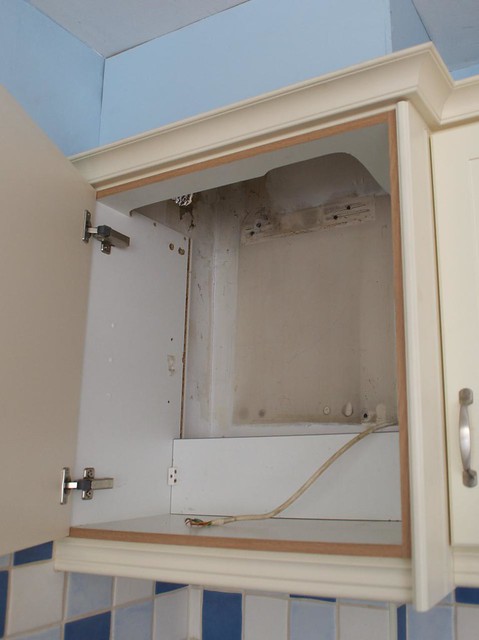
Meanwhile, the gas boiler was ripped out, gaining us a cupboard in the kitchen:
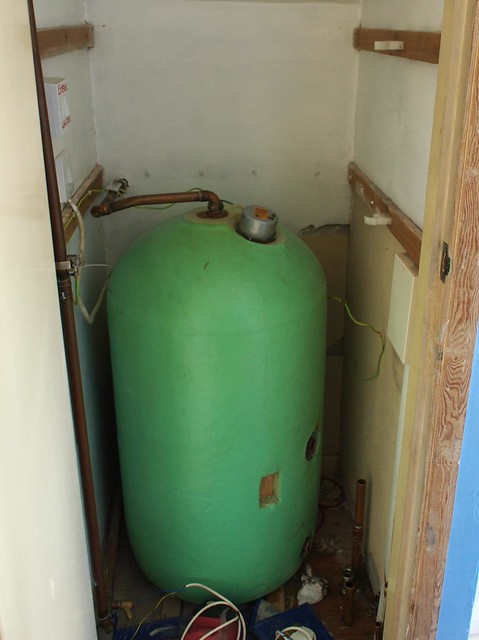
The old hot water cylinder also came out:
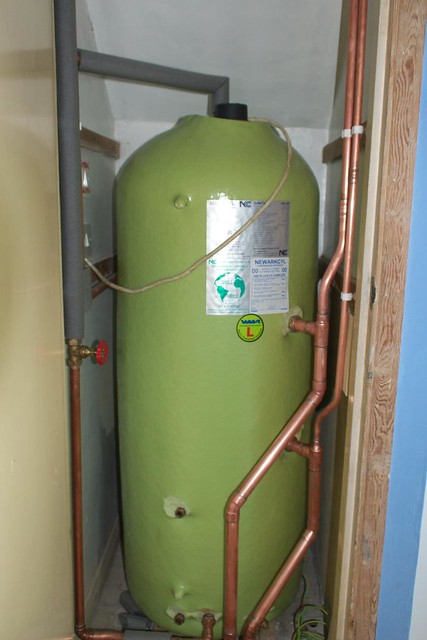
and the new one went in:
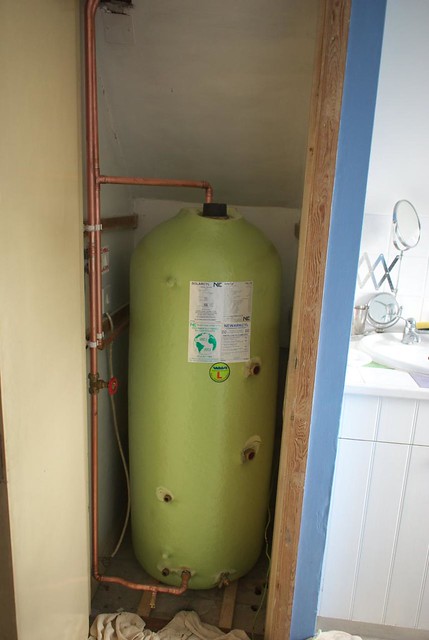
The new cylinder was specified by our solar water heating installer (who is coming soon). It has a 28mm coil at the top to match the gravity circuit for the stove, and a 15mm coil at the bottom that will take the input from the solar tubes. Here it is with the gravity circuit connected:
Up in the loft, the water tanks were changed. This wasn't essential for the wood stove, but when you look at the state of the old cold water tank, you can see why we did it:
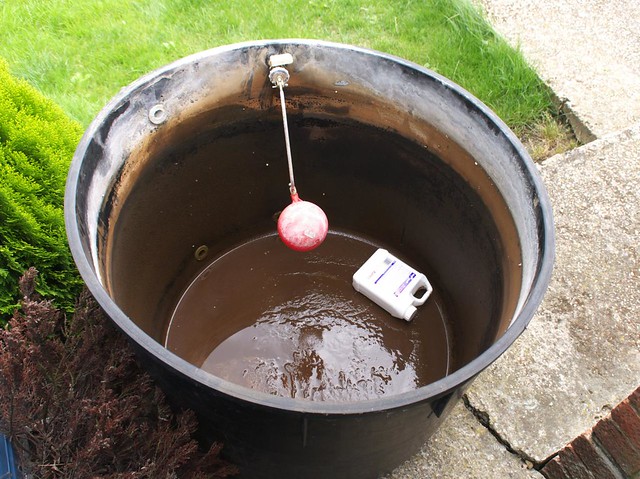
See if you can spot which are the old pipes in the loft that hadn't come out at this point...
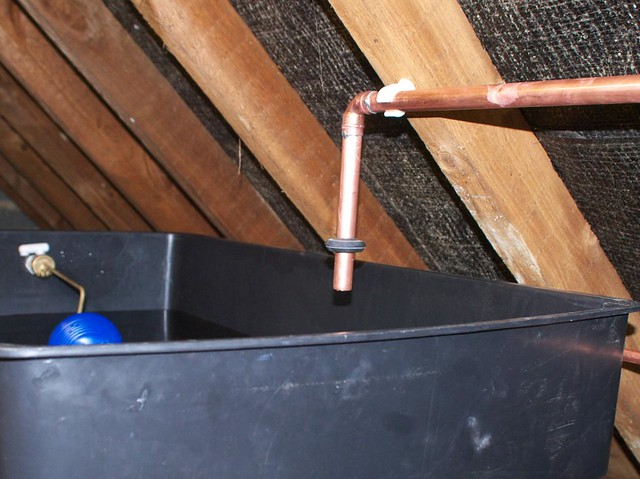
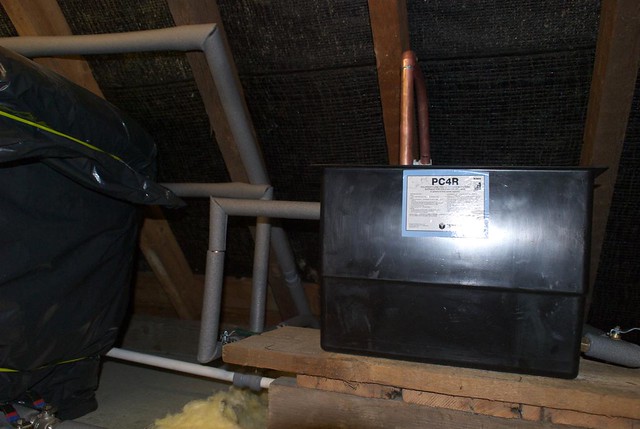
Here's the new tank in:

The pipe running over the top and into it is the vent from the hot water cylinder, in case we have the stove on too much and boil it!
A new feed and expansion tank went in as well - this is for the circuit heated by the stove, and contains anti-corrosion chemicals:
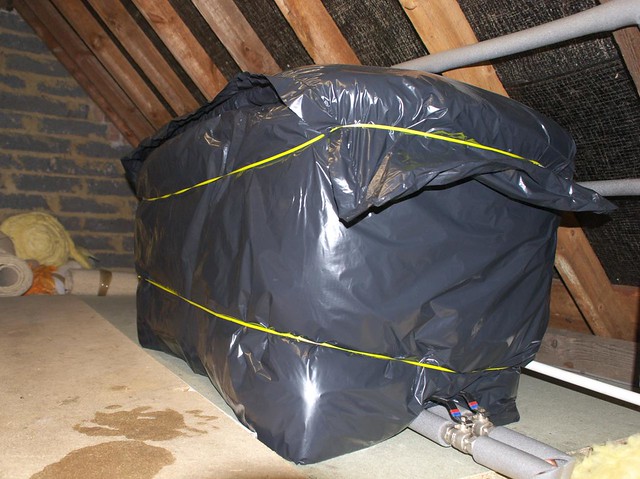
Once the water tanks in the loft were all finished, a disinfectant was used in the cold water one, and then lids went on them both and they were insulated. This means that the cold water from the bathroom tap will be potable.
The last plumbing job upstairs was connecting the bathroom "heat leak" radiator. It's called this because it's purpose is to dump heat from the stove in case it is overheating and the power is off. It's connected in parallel with the hot water tank.
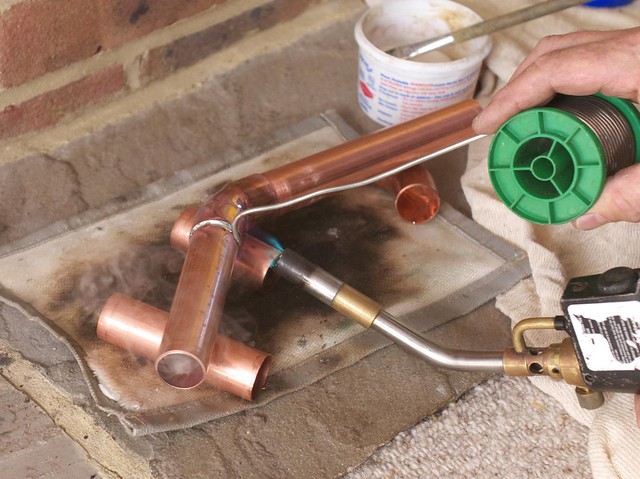
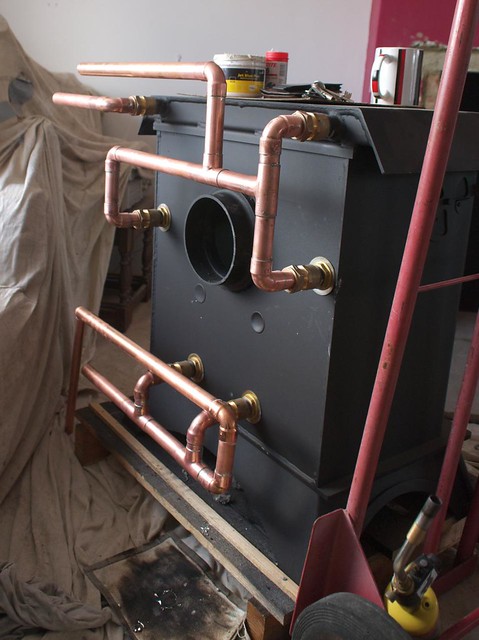
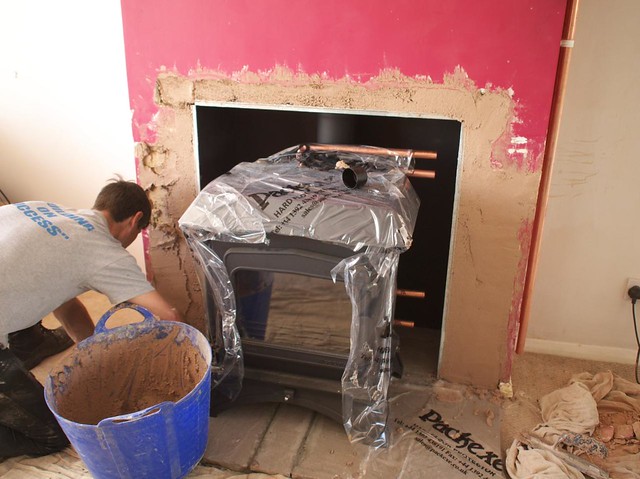
Downstairs, pipes were put on the back of the stove before it went into the fireplace, though there was some guesswork involved as we weren't exactly sure where it would sit until it was in. The pipes may look complicated, but this is according to the stove manufacturer's instructions, and it's the fact that the stove has three boilers and two circuits to feed that makes it look like this!
Only minor changes were needed once the stove was in:

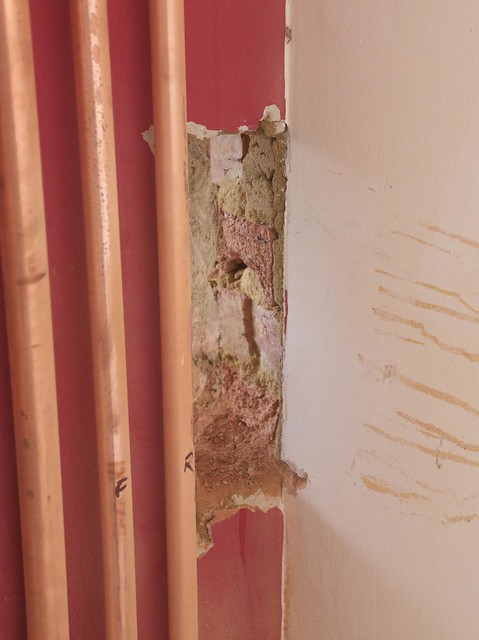
and then the pipes appeared through the slot in the side of the fireplace, ready for connection to the rest of the system:
These connections were made, with a pump in the return from the radiators. Then the electrical connections were added by our friend Chris, who's an electrician. There are two pipe thermostats, one to turn the pump off if the water's too cool (i.e. the fire's gone out), to avoid forming condensation on the boilers inside the stove, and the other to turn the pump on if the water's too hot (about 85C).
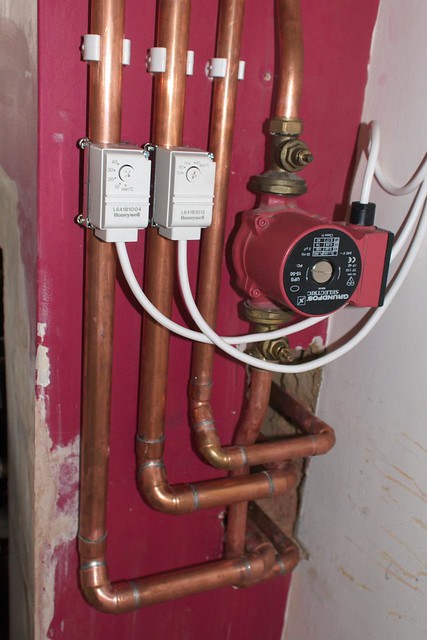
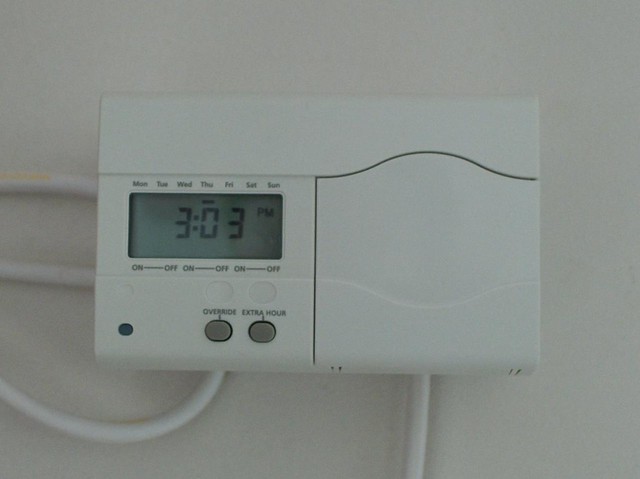
We're just using a simple controller for the radiator pump:
With all this in place, it was time to commission the system!
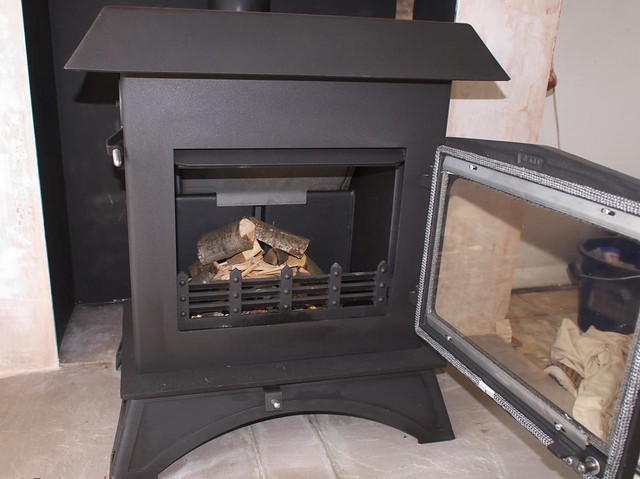
The fire lit beautifully:
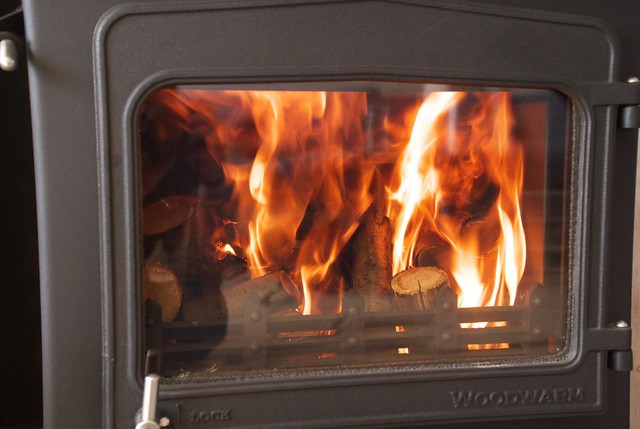
and within a few minutes, warm water was rising up the gravity circuit and into the hot water cylinder coil. We were also pleased to find that if we left the thermostatic valves open on the upstairs radiators, some heat transferred to them even without the pump on. Not the full amount you'd get with the pump, but not bad for free! Mick has told us this might happen, he just couldn't be sure as the pipes to the radiators were just left as they were when we started.
Anyway, we're very pleased to be heating the house with our own wood now, and look forward to getting the solar water heating in a few days. Better get off to the wood to cut some trees down, we're going to need the logs for the winter after next...
Mike
Related posts:
Sunday 26 September 2010
Eco-refurbishment - plumbing and testing the wood stove

Thursday 23 September 2010
Eco-refurbishment - installing the wood stove
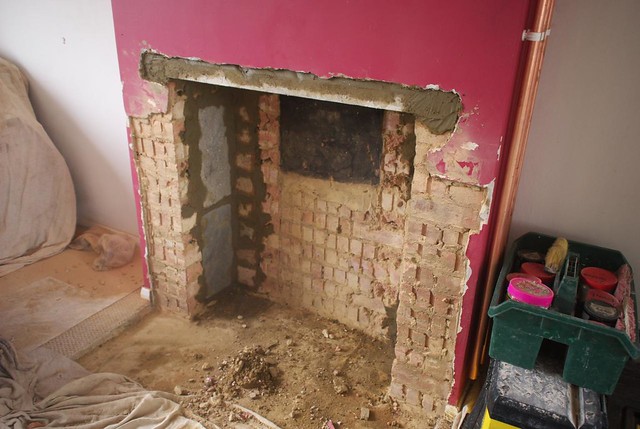
At the end of last week our wood stove was installed! It took a couple of days, and was done for us by The Barn Stoves and Fireplaces. It took a couple of days, as our fireplace needed enlarging first. Here's how it looked before they started:

The first job was to remove the cosmetic brick front, which pretty much came off in one piece, leaving it like this:
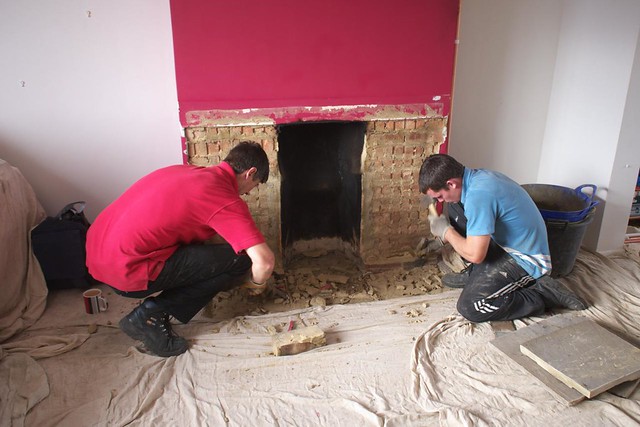
Then it was time to bring out a tool that looked like a big drill, but basically was just for knocking the wall apart:
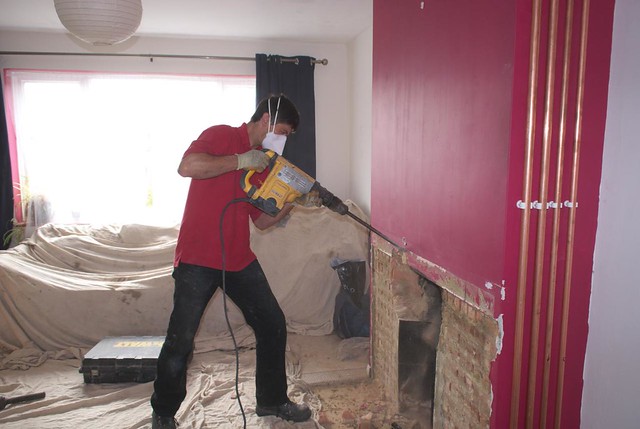
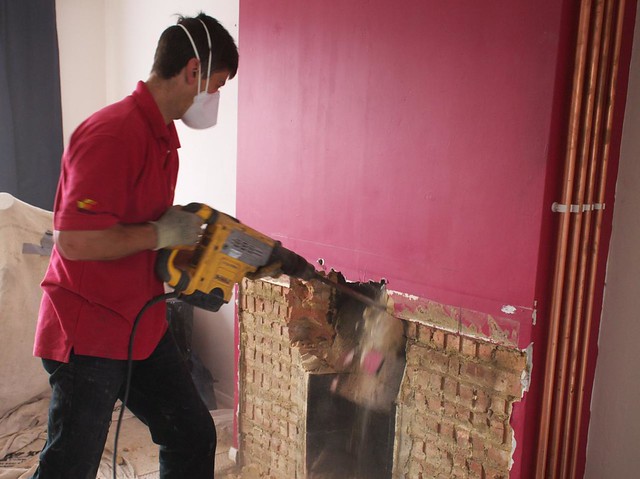
The guys made quick work of opening it up, though it did create a lot of dust. They'd put dust sheets everywhere, but you can never stop all of it...


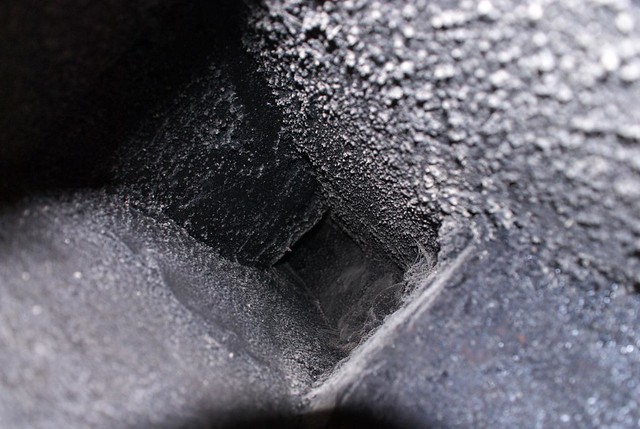
At this point I took the opportunity to get a photo up the chimney. It had just been swept, so what you see here is deposits caked onto the bricks I guess. This is why it'll be better after being lined, as the inside will be smooth and less likely to collect deposits.
Before going any further, a steel-reinforced lintel was cemented in place, and some of the spare bricks from the cosmetic front were reused to fill in the gaps.
The last job of day one was to put in a new hearth - by law this has to extend a minimum distance from the front of the stove door, in case of hot embers falling out during refuelling.

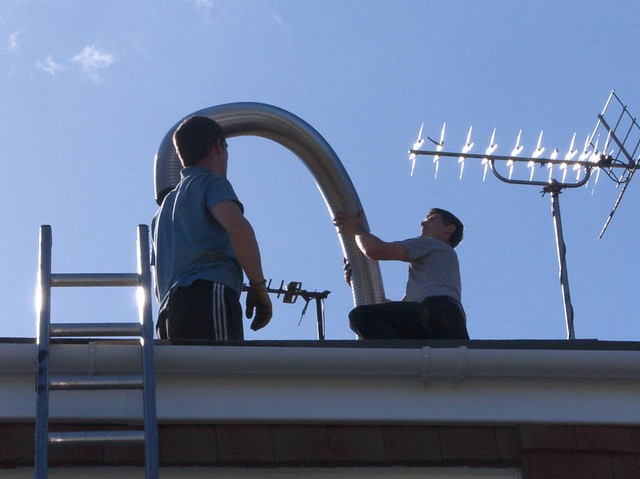
Day two arrived, and they guys slid the new flue liner down from the top of chimney:

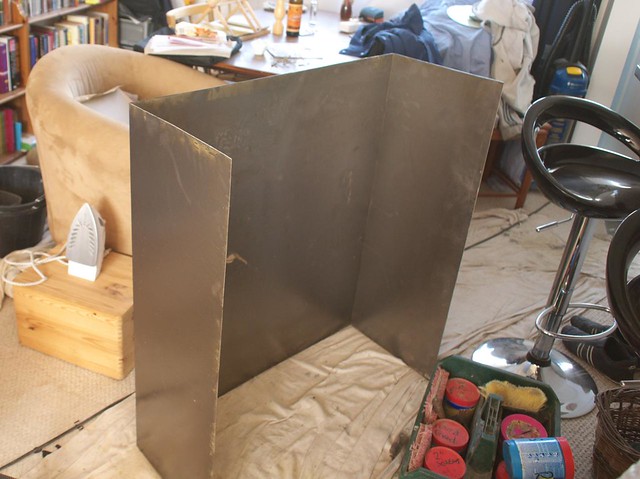
They also fabricated a steel box to line the inside of the fireplace:
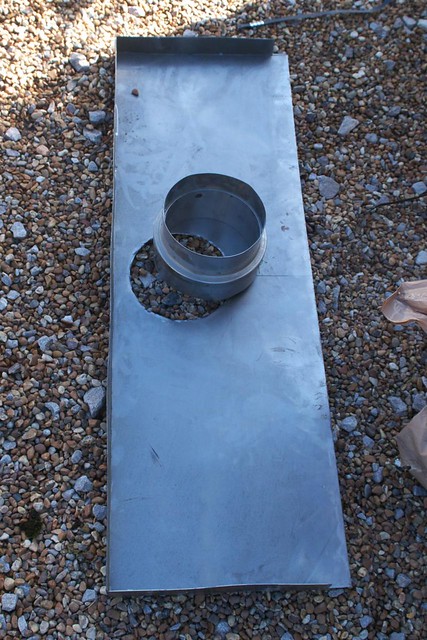
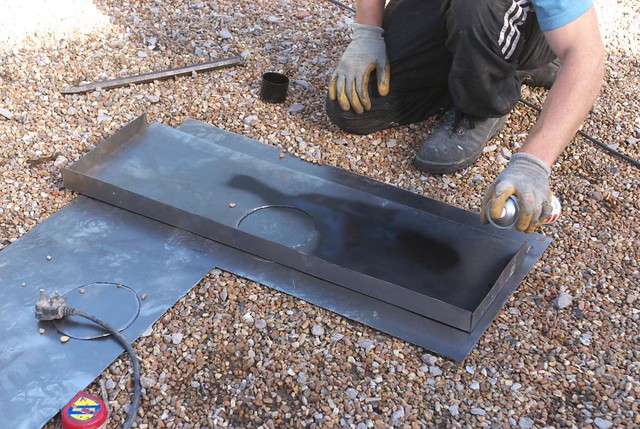
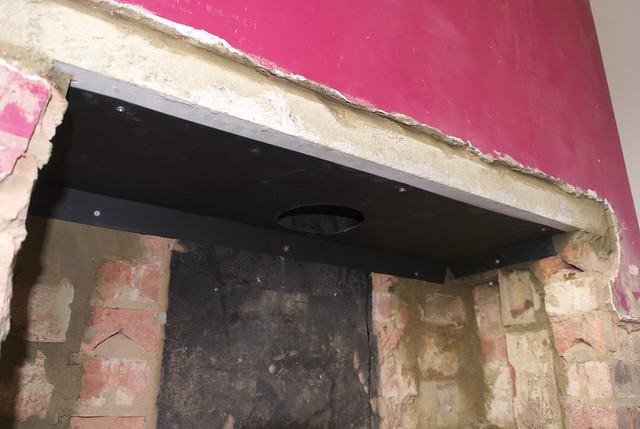
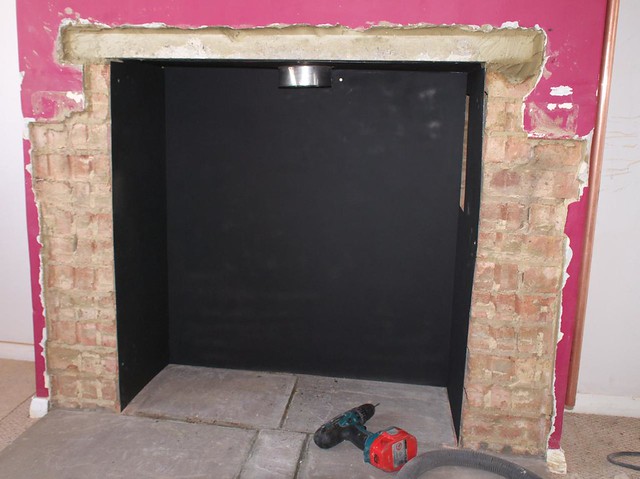
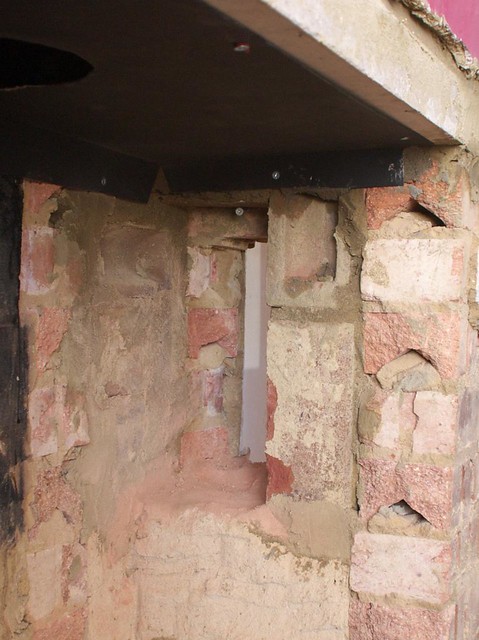
A slot was left to one side for the pipes to get out of the fireplace and connect to the rest of the central heating:
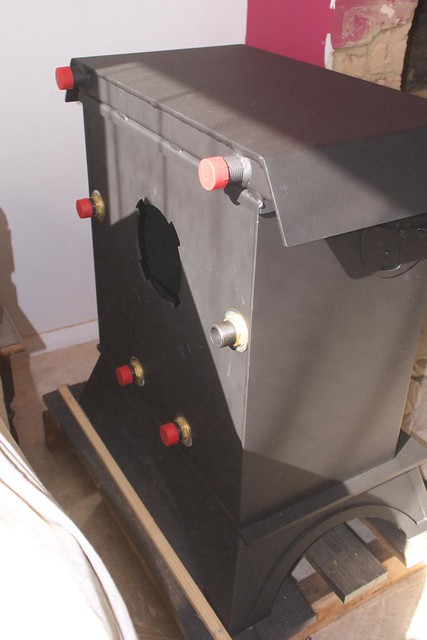
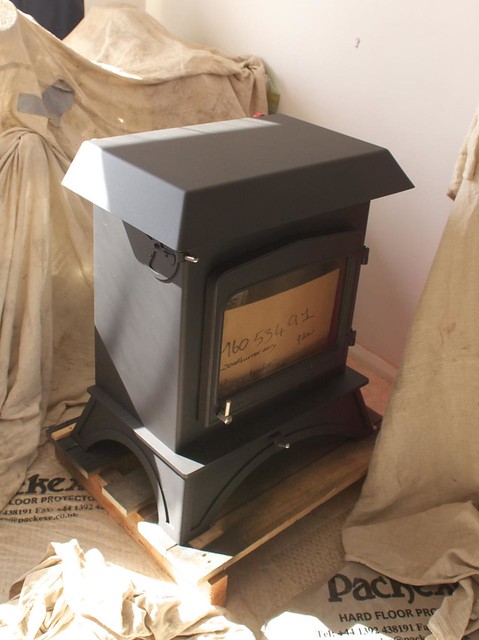
Here's the stove, a Woodwarm Wildwood 9kW. You can see the connections for the boilers on the back. It has a split-saddle boiler and also a roof boiler. The split saddle wraps round the back and sides, but has a gap for the rear flue exit, which is why there are six connections on the back:
The stove connects to a stove pipe, which was cut to the appropriate length:
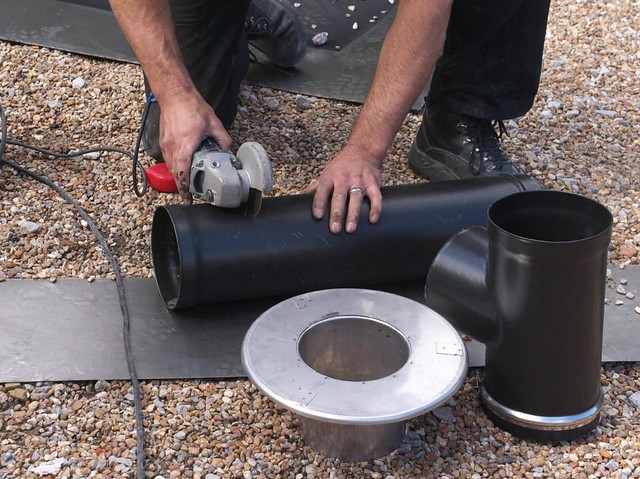
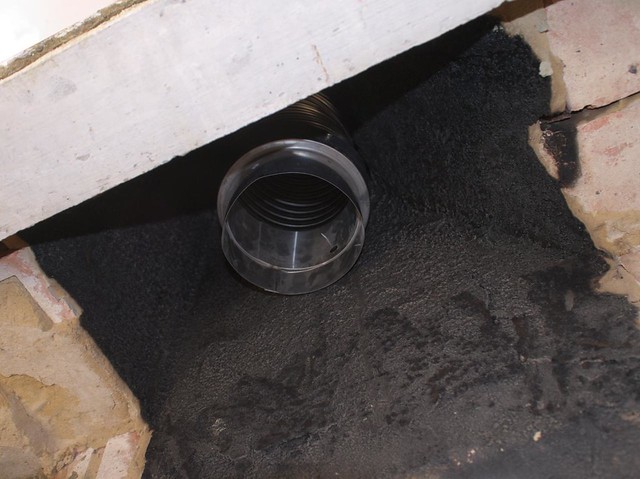
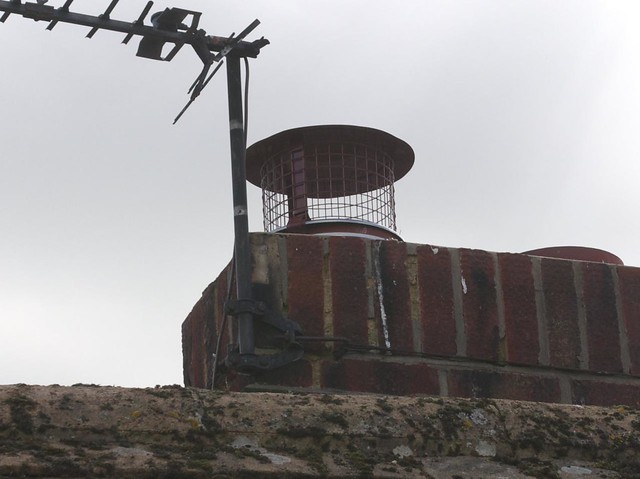
After this was connected up to the flue and sealed with a register plate at the bottom of the chimney, vermiculite was poured in from the top to fill the gap between the flue liner and the chimney, providing insulation, and then a rain/bird guard was put on the top:
Then, at last, the stove could put moved into its place, and plastering done. You'll notice the plumber had added some pipes to the back of the stove, but I'll cover the plumbing in a separate post.
And here it is, all ready to go once the plumbing is complete:

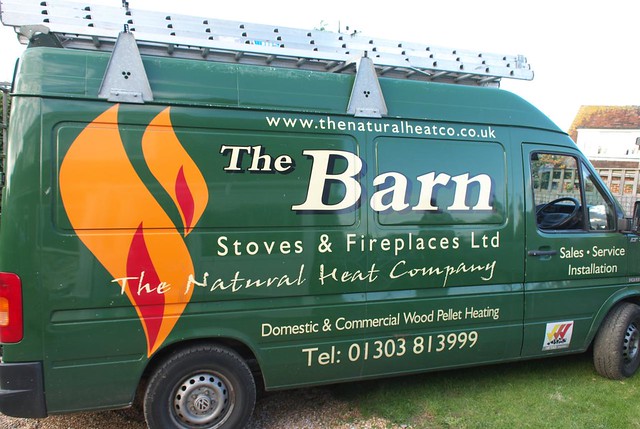
Last but not least, here's the van the guys from The Barn turned up in - you may well see it around the Rye area, as they do a lot of work here. I was very pleased with their work, and recommend them to anyone.
Mike
Related posts:
- Insulating the cavity walls
- Insulating the loft
- Flat roof insulation
- Insulating the dormer roof
- Sweeping the chimney
- Plumbing and testing the wood stove
- Installing solar water heating
- Installing off-grid solar PV (part 1)
- Installing off-grid solar PV (part 2)
- Off-grid solar PV upgrade to 750W
- Off-grid solar PV upgrade to 1250W
Subscribe to:
Posts (Atom)